
Table of Contents
Introduction
Choosing the right good cover image size for a Systeme.io blog post can make a significant difference in how your content performs. A well-optimized cover image not only enhances the visual appeal of your blog but also impacts loading speed, SEO, and user engagement. In this guide, we’ll walk you through everything you need to know about selecting the best cover image for your blog, including recommended sizes, best practices, and how to optimize your images for better results. Let’s dive in!
Recommended Cover Image Size for Systeme.io Blog Posts
Choosing the right cover image size for a Systeme.io blog post is crucial for maintaining a professional appearance and ensuring a seamless user experience. A poorly sized image can appear cropped, stretched, or pixelated, affecting readability and engagement.
Ideal Cover Image Size for Systeme.io
The best cover image size for Systeme.io blog posts is:
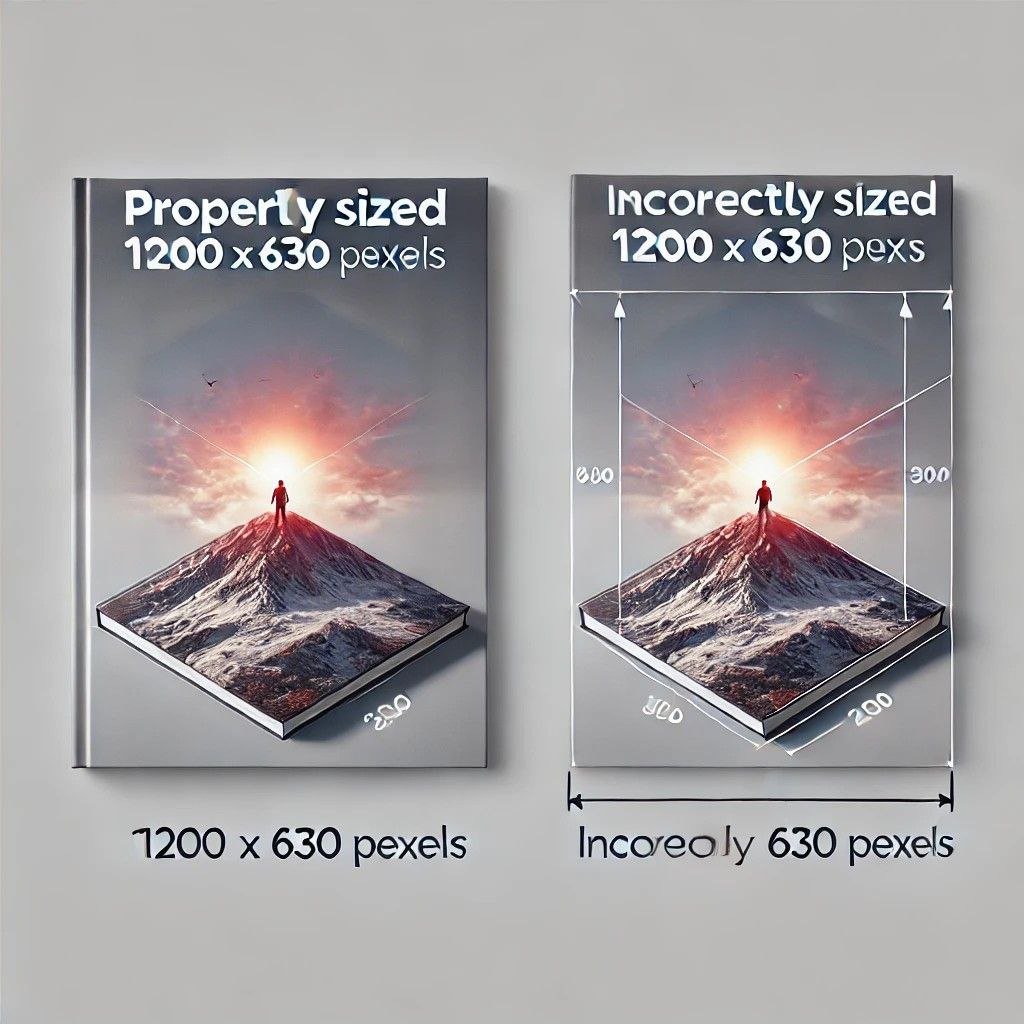
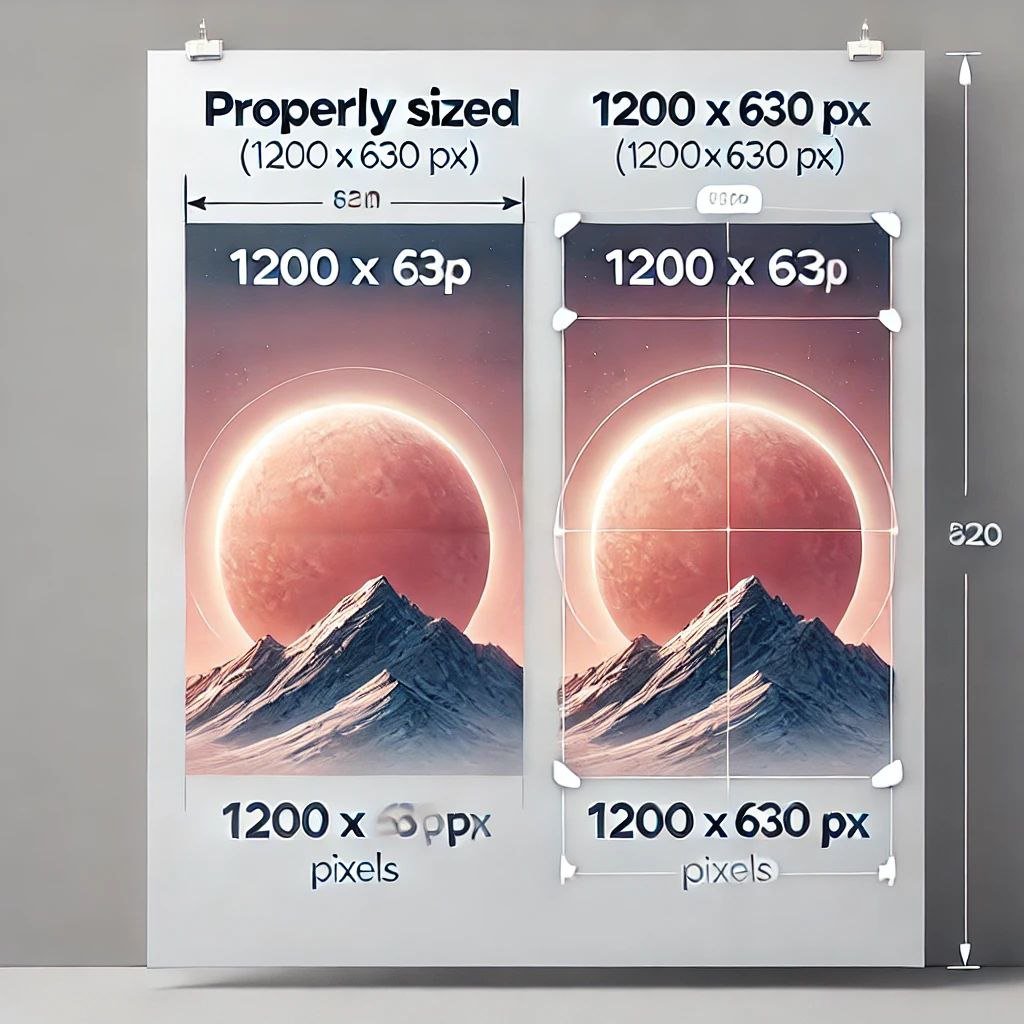
- Dimensions: 1200 x 630 pixels
- Aspect Ratio: 1.91:1
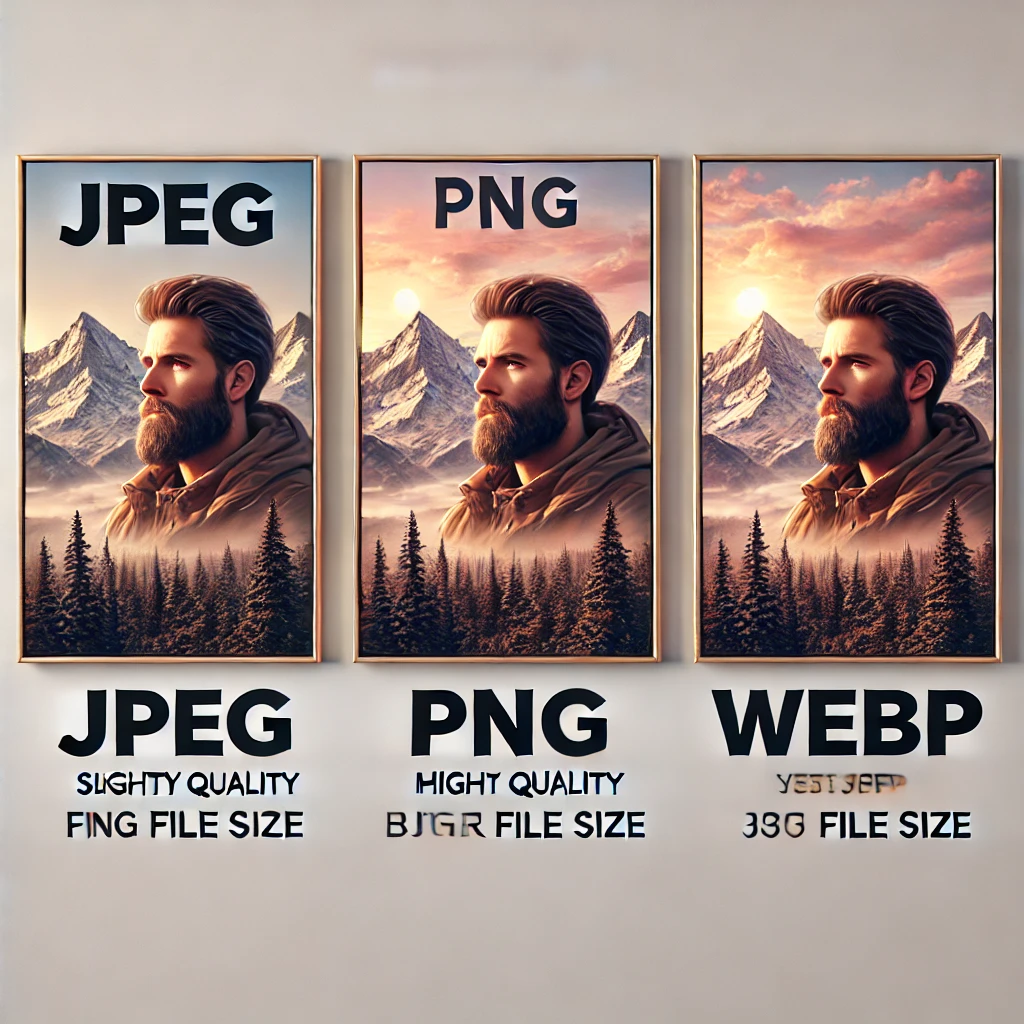
- File Format: JPEG, PNG, or WebP
- File Size: Under 500 KB (for faster loading)
Why This Size Works Best
- Optimized for All Devices – Ensures the cover image looks great on both desktop and mobile.
- Prevents Cropping Issues – Displays properly when shared on social media like Facebook and LinkedIn.
- Improves Page Speed – A correctly sized and compressed image helps with website loading time and SEO.
How to Ensure Your Cover Image Displays Correctly
- Use tools like Canva, Photoshop, or Figma to create images with the correct dimensions.
- Compress images using TinyPNG or Squoosh to reduce file size without losing quality.
- Test on different screen sizes to make sure it displays correctly.
By using the recommended Systeme.io blog post cover image size, you ensure a professional, polished look that enhances user experience and supports SEO efforts.
Why Cover Image Size Matters for Blog Performance?
The cover image size for a Systeme.io blog post plays a crucial role in both user experience and website performance. A well-optimized cover image improves readability, engagement, and SEO, while an improperly sized image can slow down your site and create a poor visual experience.
1. Page Load Speed and SEO Impact
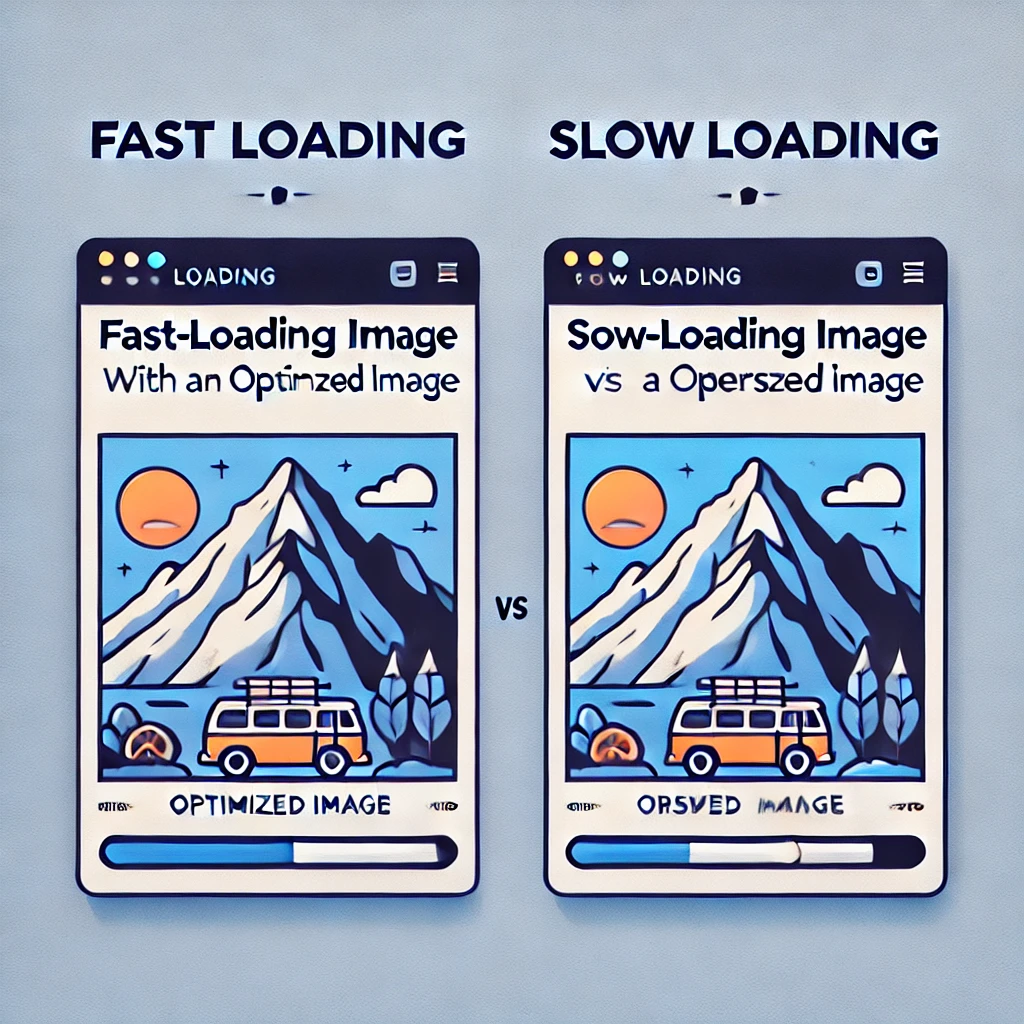
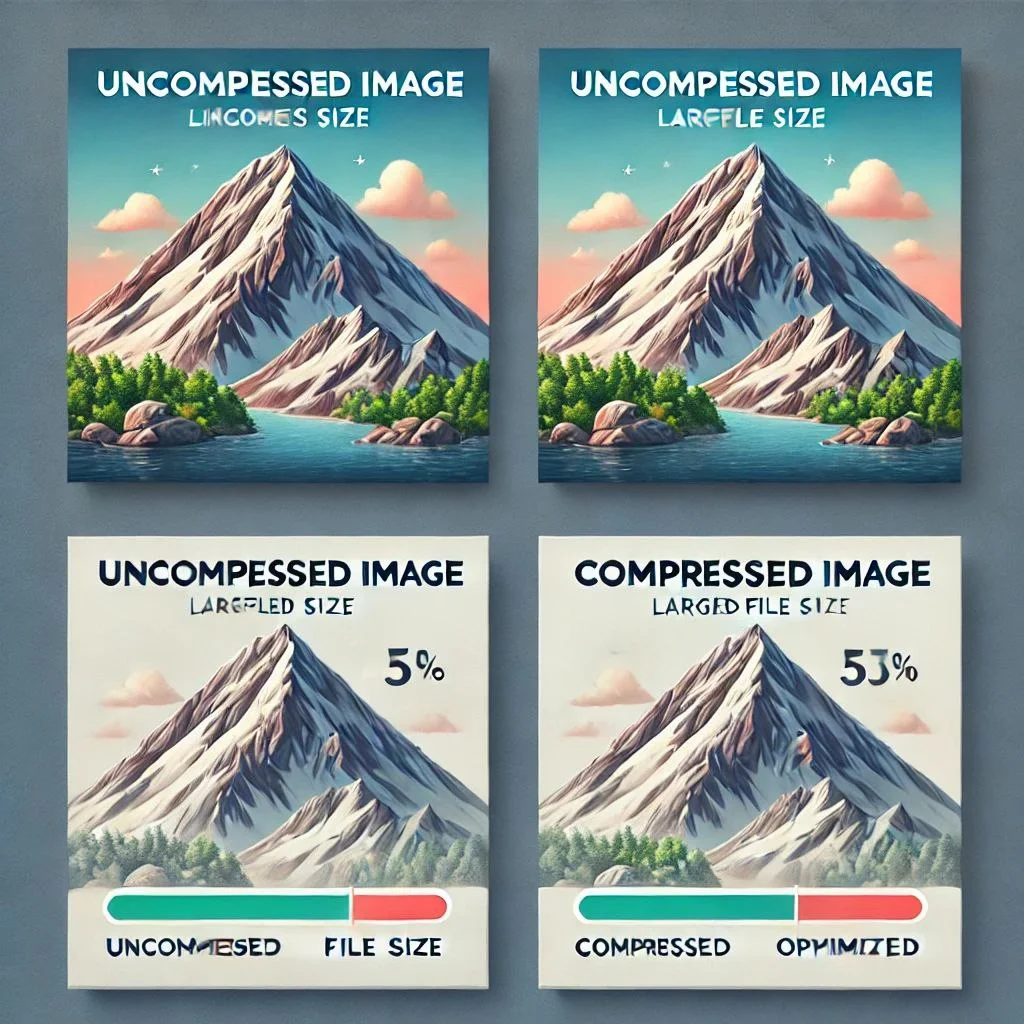
Large, uncompressed images can increase loading times, which negatively affects user experience and search rankings. Google prioritizes fast-loading pages, so using the right Systeme.io blog post cover image size ensures your site remains quick and responsive.
2. Proper Display on All Devices
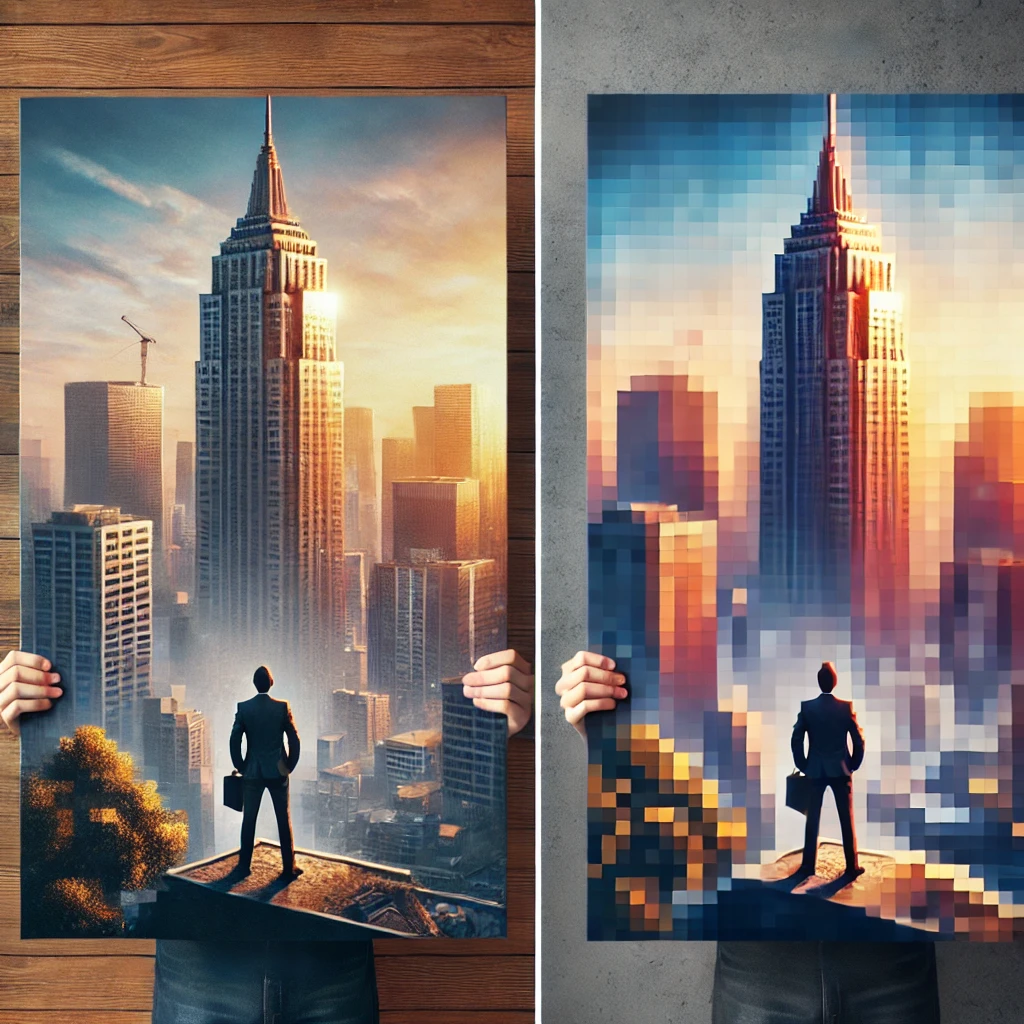
A correctly sized cover image ensures that your blog looks good on both desktop and mobile screens. If an image is too small, it may appear pixelated; if too large, it may be cropped awkwardly.
3. Social Media Sharing and Click-Through Rate (CTR)
When your blog post is shared on Facebook, LinkedIn, or Twitter, the cover image is automatically pulled into the preview. If the cover image size for Systeme.io blog posts is incorrect, it may be cropped or misaligned, reducing clicks and engagement.
4. Enhancing User Engagement
A high-quality, properly sized cover image makes your blog visually appealing and encourages readers to stay longer. An engaging cover image increases the chances of users reading your content instead of bouncing off the page.
Final Thoughts
Using the correct Systeme.io blog post cover image size helps your blog perform better by improving load speed, mobile responsiveness, and social media visibility. It ensures that your blog posts look professional while keeping your site optimized for SEO and user experience.
Best Practices for Creating a Cover Image for Systeme.io
A well-designed cover image for a Systeme.io blog post makes your content more engaging, improves readability, and helps with SEO. To ensure your cover images look professional and load efficiently, follow these best practices.
1. Use the Recommended Image Size
The ideal Systeme.io blog post cover image size is 1200 x 630 pixels with an aspect ratio of 1.91:1. This ensures proper display across devices and social media.
2. Choose the Right File Format
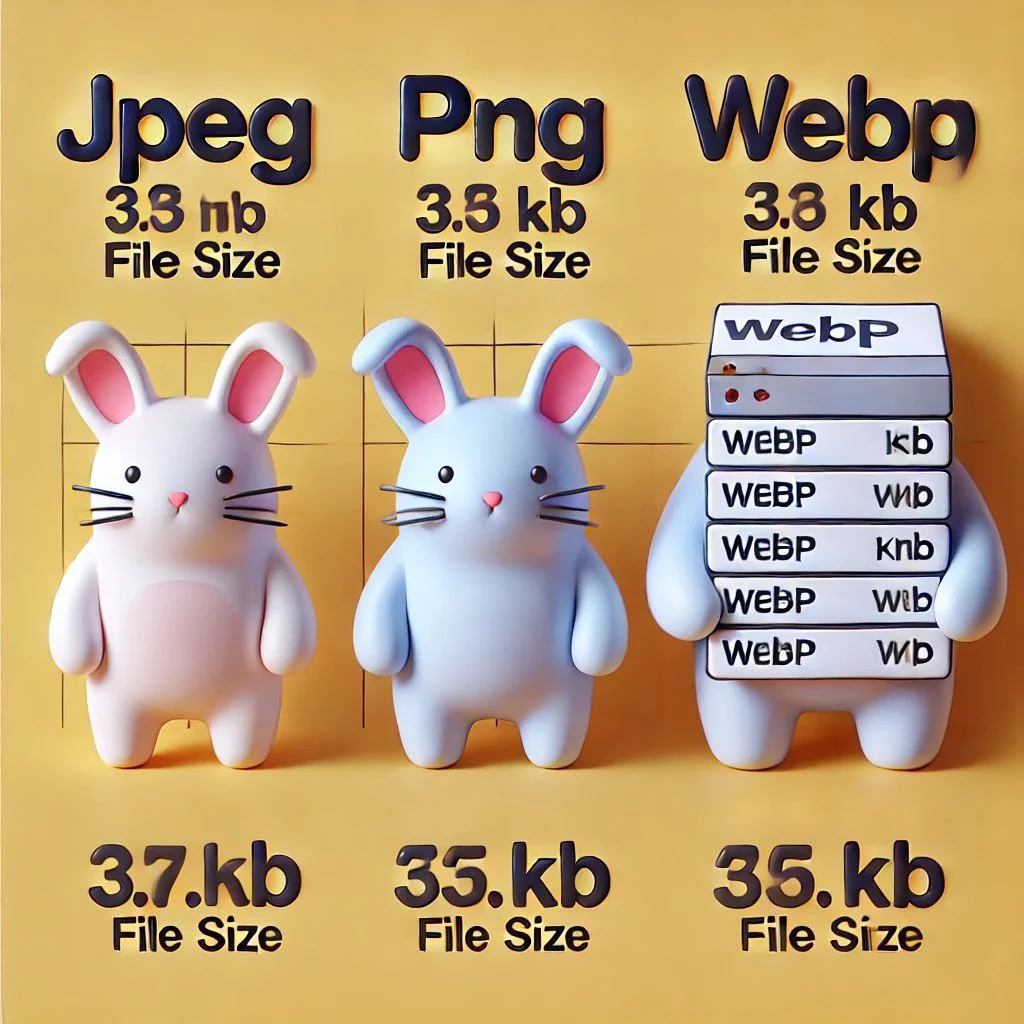
- JPEG – Best for photographs and smaller file sizes.
- PNG – Ideal for images with transparency but larger in size.
- WebP – Best balance of quality and compression for fast loading.
3. Keep File Size Small for Faster Loading
Large images slow down your blog. Compress your cover image using tools like:
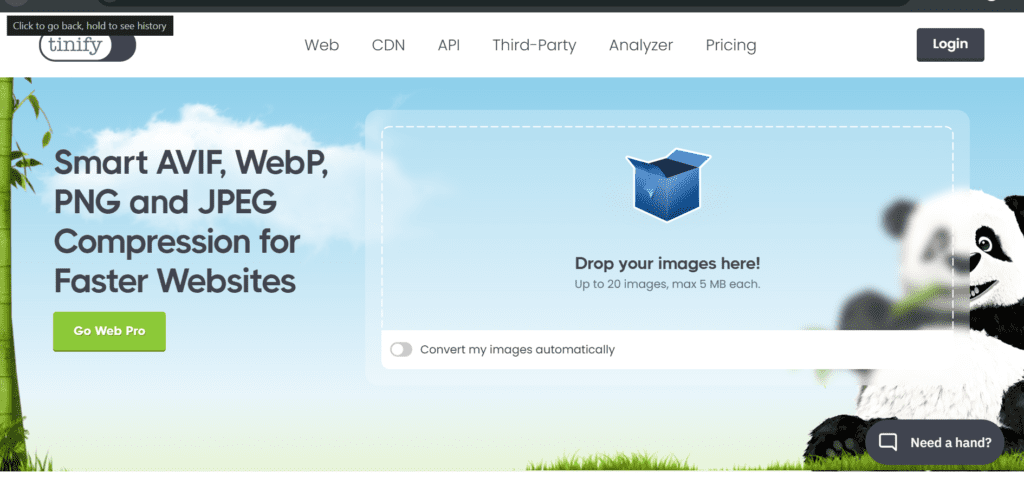
✅ TinyPNG – Reduces file size without losing quality.
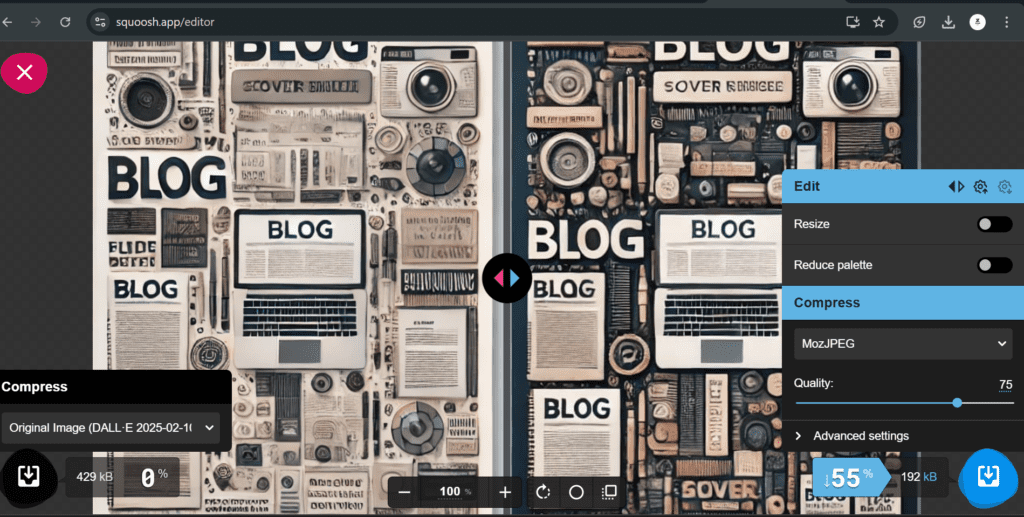
✅ Squoosh – Offers advanced compression settings.
✅ ShortPixel – Good for bulk image compression.
4. Use High-Quality Images
Blurry or pixelated images make your blog look unprofessional. Use high-resolution images from:
- Unsplash (free, high-quality stock images)
- Pexels (great for diverse visuals)
- Shutterstock (premium paid stock images)

5. Maintain a Consistent Style
For branding consistency, use:
🎨 Matching colors with your blog theme.
🖋️ Readable fonts if you add text.
🖼️ A clean, uncluttered layout for better readability.
6. Test Your Cover Image on Multiple Devices
Before publishing, check how your cover image appears on desktop, tablet, and mobile to ensure no cropping or distortion.
Final Thoughts
By following these best practices, you can create an effective Systeme.io blog post cover image that enhances your blog’s appearance, improves user engagement, and helps with SEO.
Common Mistakes to Avoid
Creating a cover image for a Systeme.io blog post may seem simple, but several mistakes can negatively impact your blog’s appearance, speed, and SEO. Avoiding these common errors will help ensure that your cover image looks professional and performs well.
1. Using the Wrong Image Size
A cover image that’s too small may appear pixelated, while an oversized image can get cropped incorrectly. The recommended Systeme.io blog post cover image size is 1200 x 630 pixels to ensure proper display on all devices.
2. Uploading Uncompressed Images
Large image files slow down page load speed, negatively affecting user experience and SEO. Always compress images before uploading using tools like TinyPNG, Squoosh, or ShortPixel to keep file sizes under 500 KB.
3. Using the Wrong File Format
The wrong file format can reduce quality or increase load time. Use:
- JPEG for high-quality images with smaller file sizes.
- PNG for images with transparency.
- WebP for the best balance between quality and speed.
4. Ignoring Mobile Optimization
A cover image may look fine on desktop but appear cropped or distorted on mobile. Always preview your cover image on different screen sizes before publishing.
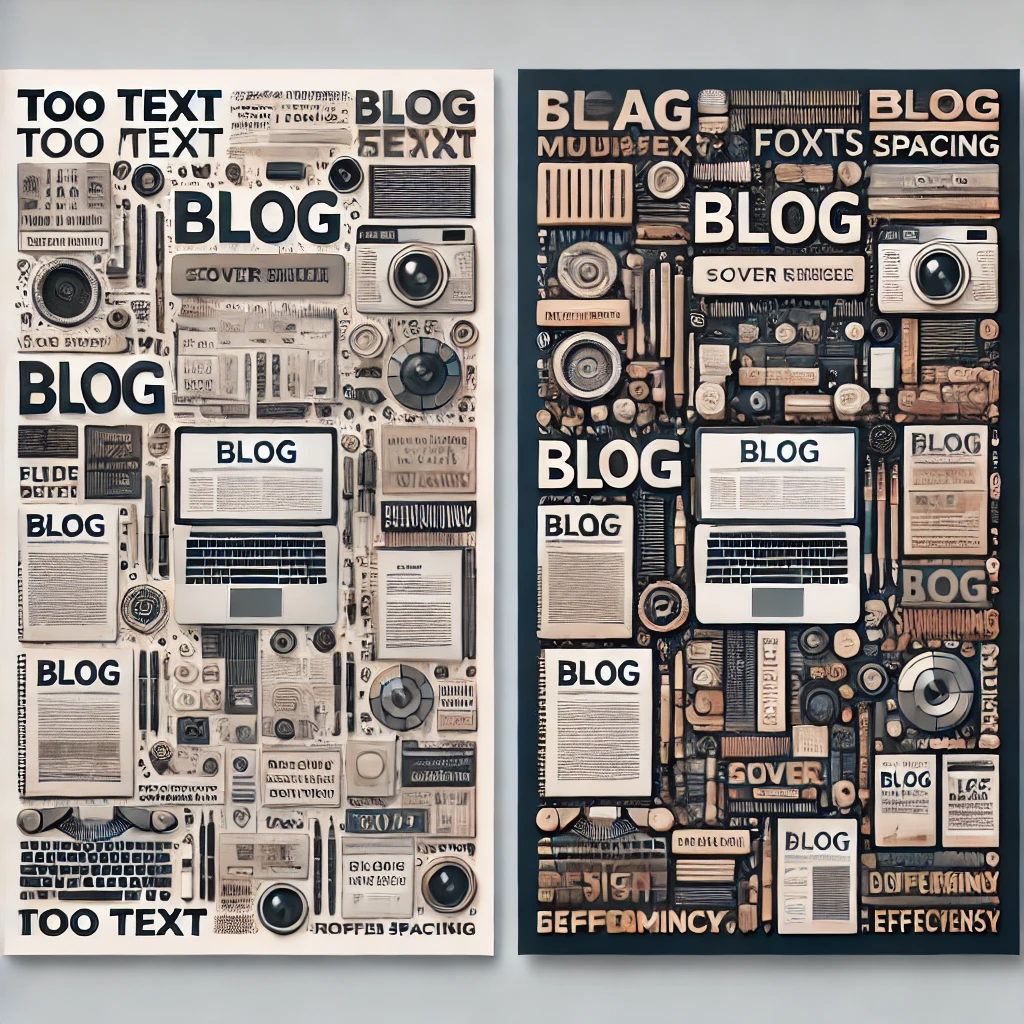
5. Overloading the Image with Text
Adding too much text to your cover image can make it difficult to read, especially on smaller screens. If you include text, make sure it’s:
✔️ Short and to the point
✔️ Large enough to be readable on mobile
✔️ Contrasted well against the background
6. Choosing Low-Quality or Unrelated Images
A blurry, stretched, or unrelated cover image can make your blog look unprofessional. Use high-resolution images from reputable sources like:
- Unsplash (free stock images)
- Pexels (high-quality visuals)
- Shutterstock (premium paid images)
Final Thoughts
Avoiding these common mistakes will help you create a Systeme.io blog post cover image that looks professional, loads quickly, and enhances user engagement. Stick to the recommended size, compress your images, and always check for mobile compatibility to ensure the best results.
Optimizing Cover Images for SEO
Optimizing the cover image for a Systeme.io blog post is essential for improving page speed, search rankings, and user experience. A well-optimized image helps search engines understand your content while ensuring faster load times. Here’s how to optimize your cover images for SEO.
1. Use the Correct Image Size
The recommended Systeme.io blog post cover image size is 1200 x 630 pixels. This ensures your image displays correctly on all devices and platforms without getting cropped or stretched.
2. Compress Images Without Losing Quality
Large image files slow down your website, which negatively impacts SEO. Use compression tools to reduce file size while maintaining quality:
✅ TinyPNG – Simple and effective compression.
✅ Squoosh – Advanced compression settings.
✅ ShortPixel – Great for bulk image optimization.
3. Choose the Right File Format
Using the right file format ensures a balance between quality and loading speed:
- JPEG – Best for high-quality images with smaller file sizes.
- PNG – Ideal for images that need transparency.
- WebP – Recommended for the best quality-to-file-size ratio.
4. Add Descriptive File Names
Instead of generic filenames like image123.jpg, use keyword-rich, descriptive names such as:
❌ coverimage.png → ✅ systeme-io-blog-cover-image.png
5. Use Alt Text for SEO and Accessibility
Alt text (alternative text) describes an image to search engines and visually impaired users. Include relevant keywords while keeping it natural:
✅ Example: "Cover image size for Systeme.io blog post displayed on desktop and mobile."
6. Enable Lazy Loading for Faster Page Speed
Lazy loading ensures images only load when they appear on the screen, reducing initial page load time. Systeme.io supports lazy loading by default, but you can double-check your settings.
7. Ensure Mobile Compatibility
Always preview your cover image on desktop, tablet, and mobile to check for any cropping or display issues.
Final Thoughts
By following these SEO best practices, your Systeme.io blog post cover image will not only look great but also improve page speed, accessibility, and search rankings. Proper optimization ensures that your blog performs well while providing a seamless user experience.
How to Upload a Cover Image on Systeme.io
Uploading a cover image for a Systeme.io blog post is a simple process that can enhance the visual appeal of your content. Follow these steps to easily add and customize your cover image on Systeme.io.
1. Log In to Your Systeme.io Account
To get started, log in to your Systeme.io account. Once logged in, navigate to the Blog section from the main dashboard.
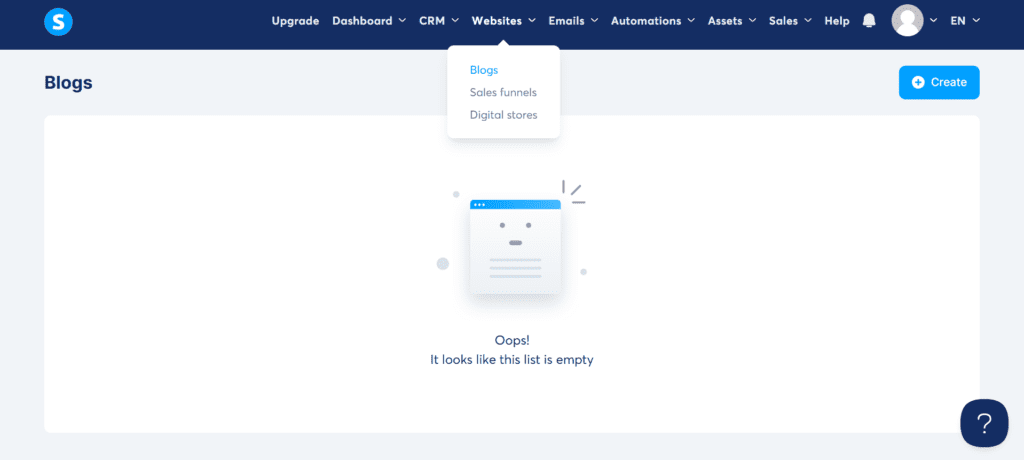
2. Create or Edit a Blog Post
To upload a cover image, either create a new blog post or edit an existing one. Click on “Create a Blog Post” or select a post you want to edit.
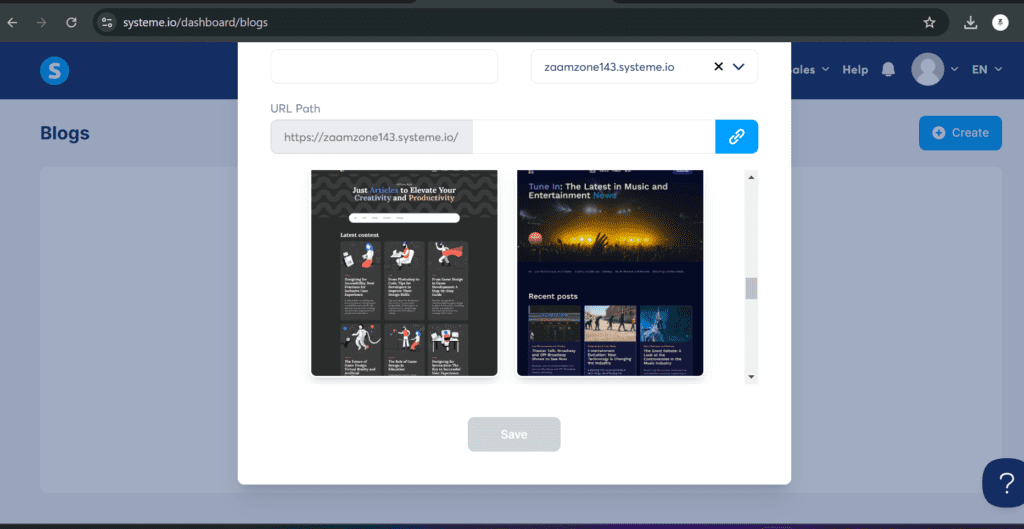
3. Select the Cover Image Section
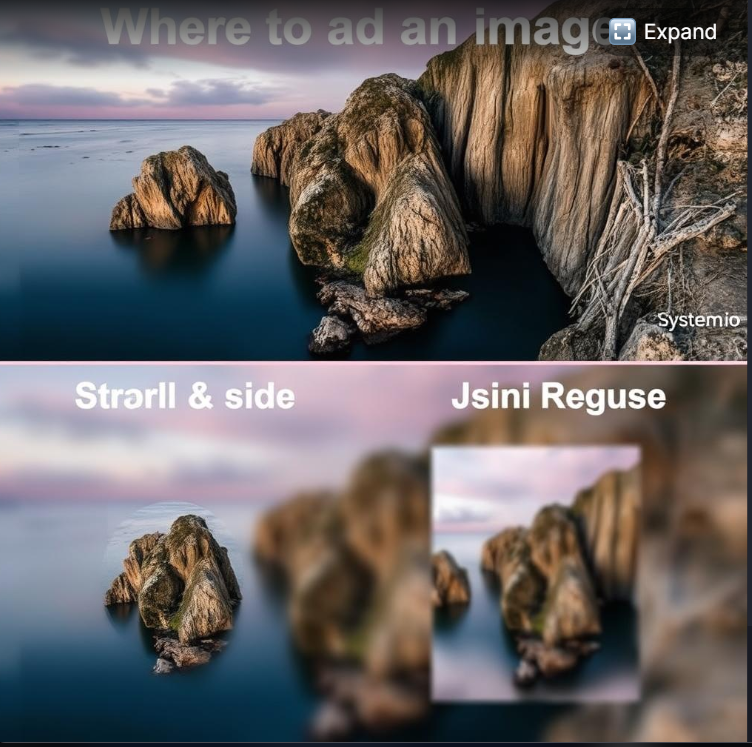
On the blog post editor page, scroll down to the “Cover Image” section. This is where you’ll upload the image that will appear as the main visual for your blog post.
4. Upload Your Image
Click on the “Upload Image” button, which will open your file explorer. Select the cover image that you’ve already prepared and optimized according to the Systeme.io blog post cover image size (1200 x 630 pixels).
5. Adjust the Image if Necessary
Once your image is uploaded, you may be able to crop or adjust it within the editor to ensure it fits properly. Make sure the image appears correctly in the preview section before finalizing.
6. Save Your Post
Once you’re satisfied with your cover image, scroll to the top of the page and click “Save” to apply the changes to your blog post.
7. Preview Your Blog Post
Before publishing, use the “Preview” button to view your blog post and ensure the cover image displays correctly on both desktop and mobile devices.
Final Thoughts
Uploading a cover image for a Systeme.io blog post is a quick and easy way to enhance the appearance of your content. By following these simple steps, you can ensure your cover image is displayed correctly and aligns with the recommended size for optimal performance.
Responsive Image Design: Making It Look Good on All Devices
When creating a cover image for a Systeme.io blog post, it’s important to ensure that it looks great not only on desktop but also on mobile and tablet devices. Responsive image design guarantees that your image adjusts properly across different screen sizes, providing a seamless user experience. Here’s how to ensure your cover image is responsive and displays correctly on all devices.
1. Stick to the Recommended Image Size
The recommended Systeme.io blog post cover image size is 1200 x 630 pixels. This dimension ensures that your image is large enough to look good on desktop while also being flexible enough to resize on mobile devices without distortion.
2. Use Responsive Design Techniques
Systeme.io automatically uses responsive design for blog posts, meaning it will adjust the layout of your images depending on the device being used. However, it’s still important to make sure your cover image is optimized for all screen sizes. Avoid images with large text or important details too close to the edges. This helps prevent important parts of the image from being cropped or hidden on smaller screens.
3. Test Your Image Across Multiple Devices
Before publishing, always preview your cover image on multiple devices (desktop, tablet, and mobile). This ensures the image isn’t too large, cropped, or pixelated on any device. Some design tools or systems, including Systeme.io, allow you to preview how the image will look on different screen sizes.
4. Avoid Large Text or Fine Details in the Image
Small text or intricate details may look fine on a desktop but can be difficult to read or distort on smaller mobile screens. To ensure your image looks good across all devices, use large, clear fonts and keep important details near the center of the image.
5. Use the Right File Format and Compression
Use formats like JPEG, PNG, or WebP, which are optimized for web use and perform well across devices. Compress the image to ensure fast loading times, which is especially important for mobile users with slower internet speeds.
6. Consider Lazy Loading for Faster Performance
Lazy loading allows images to load only when they come into the user’s view. This improves page load times and ensures that images aren’t taking up bandwidth on devices where they aren’t immediately visible. Systeme.io supports lazy loading by default, so make sure this feature is enabled for faster loading across all devices.
Final Thoughts
To make your Systeme.io blog post cover image look great on all devices, ensure that it’s properly sized, tested across screen sizes, and free from any text or details that may get distorted on mobile. By following these responsive design principles, you’ll ensure your blog post provides an optimal user experience, no matter the device.
Image Compression Tools to Improve Page Speed
Optimizing your cover image for a Systeme.io blog post not only enhances its appearance but also helps improve your page speed, which is crucial for SEO and user experience. Image compression reduces the file size without sacrificing quality, allowing your pages to load faster. Here are some of the best image compression tools you can use to improve page speed.
1. TinyPNG
TinyPNG is a popular tool for compressing PNG and JPEG images. It uses advanced techniques to reduce the file size without significantly affecting the image quality. TinyPNG’s simple interface makes it easy to upload and download optimized images quickly.
2. Squoosh
Squoosh is a free image compression tool developed by Google. It allows you to choose different compression formats (like JPEG, PNG, WebP) and provides a visual comparison of the image before and after compression. Squoosh also allows you to adjust quality settings to get the perfect balance between file size and image quality.
3. ShortPixel
ShortPixel offers both free and paid options for compressing images. It supports multiple formats, including JPEG, PNG, GIF, and WebP. ShortPixel also provides bulk image compression for websites with many images and can be integrated directly into your website for automatic optimization.
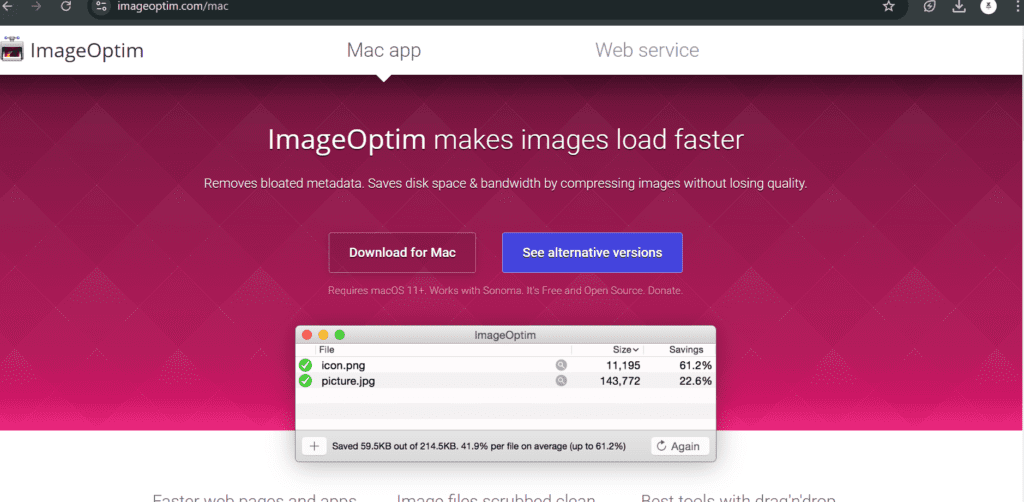
4. ImageOptim
ImageOptim is a compression tool for Mac users that specializes in reducing image file sizes without affecting visual quality. It supports various formats, including JPEG, PNG, and GIF. ImageOptim is perfect for optimizing images before uploading them to your Systeme.io blog post.
5. Compressor.io
Compressor.io is another great online tool for compressing images without significant quality loss. It supports JPEG, PNG, GIF, and WebP formats and offers both lossless and lossy compression options. It’s a great choice for quickly reducing image sizes before uploading them to your blog.
6. Kraken.io
Kraken.io is a powerful image compression tool that supports both individual images and bulk compression. It provides options for lossless compression and progressive JPEG for better visual quality at smaller file sizes. Kraken.io also offers an API for integrating image optimization into your website or blog.
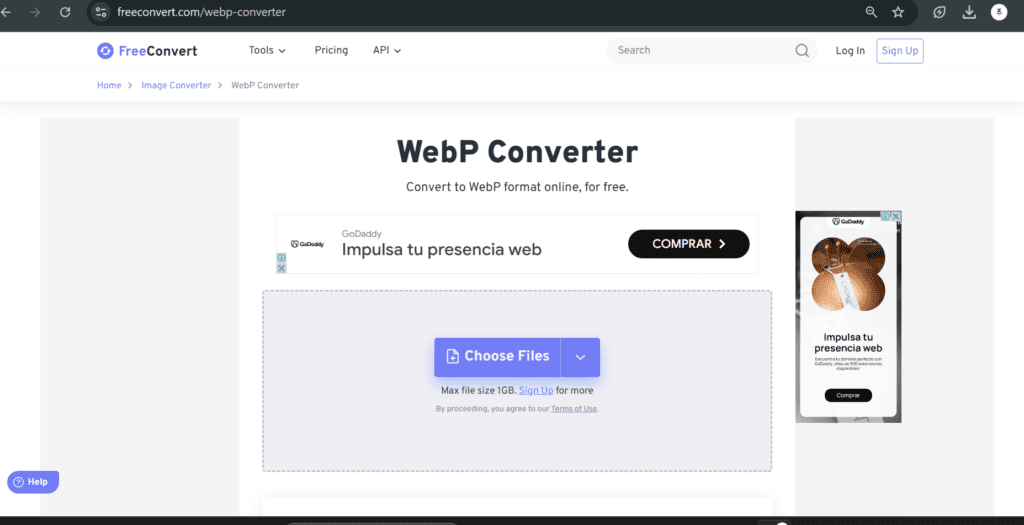
7. WebP Converter
For those who want to take advantage of the WebP format, which offers excellent compression rates with minimal quality loss, WebP Converter is an excellent option. Converting your images to WebP format can significantly reduce file size, improving page speed without compromising visual quality.
Final Thoughts
Using the right image compression tool for your Systeme.io blog post cover image is crucial for improving page speed and ensuring a fast, responsive user experience. By compressing your images, you’ll enhance your SEO, reduce bounce rates, and provide a smoother browsing experience for your audience.
Best Free and Paid Resources for Cover Images
Finding the perfect cover image for your Systeme.io blog post can make a significant impact on your content’s appearance and user engagement. Whether you’re looking for high-quality free images or premium resources, there are plenty of options available. Here’s a list of the best free and paid resources to help you find the perfect cover image for your blog.
Free Resources for Cover Images
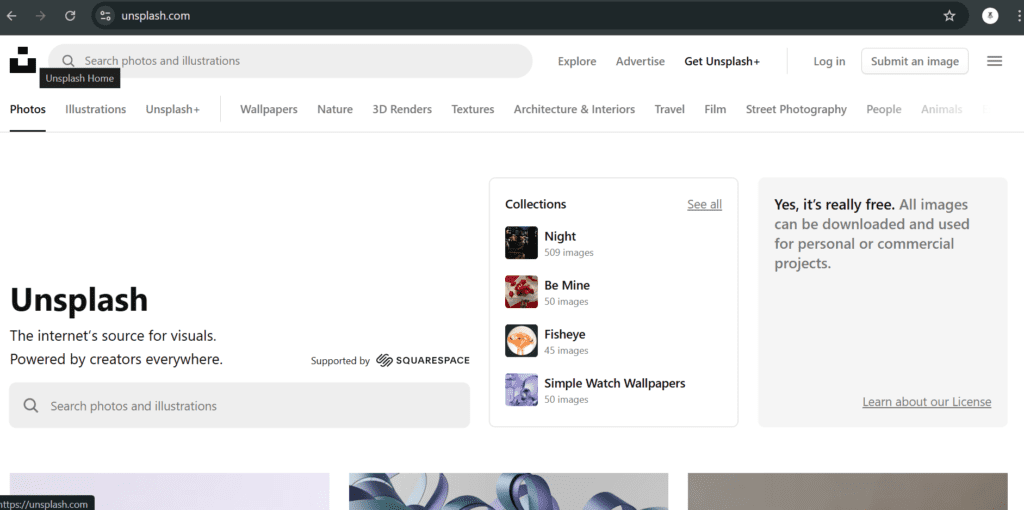
1. Unsplash
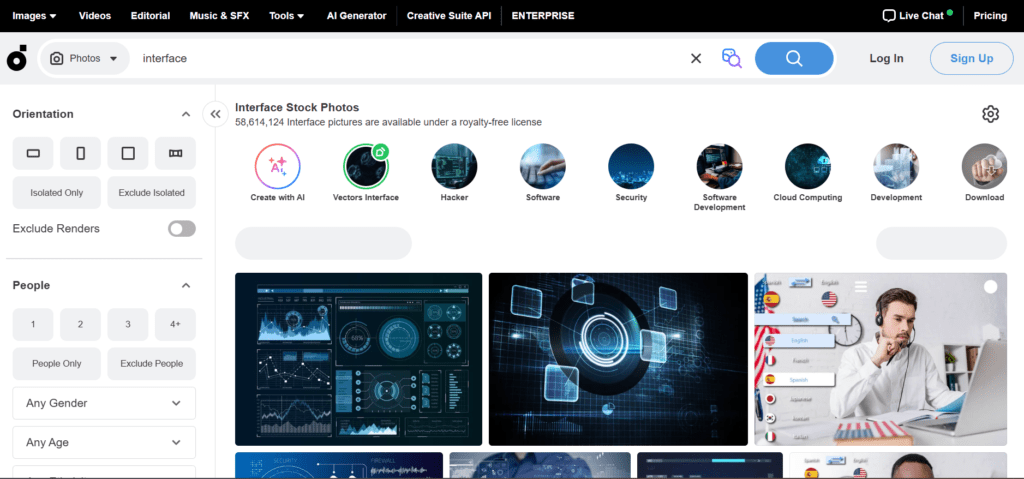
Unsplash offers a wide variety of high-quality, royalty-free images that you can use for your Systeme.io blog post cover image. All images on Unsplash are free to use, even for commercial purposes, making it a great option for bloggers looking for professional visuals.
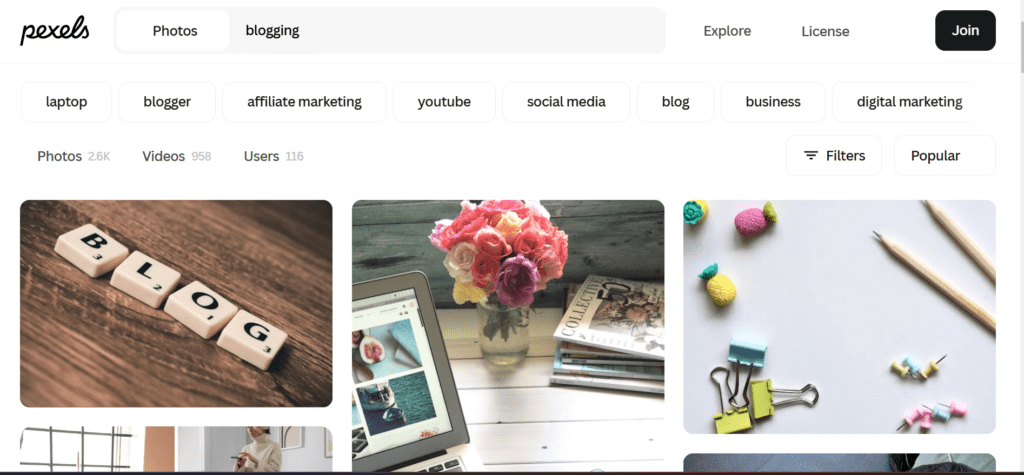
2. Pexels
Pexels provides free stock photos and videos that you can use in your blog posts. The platform’s extensive collection of high-resolution images is perfect for adding visual appeal to your Systeme.io blog post without any cost.
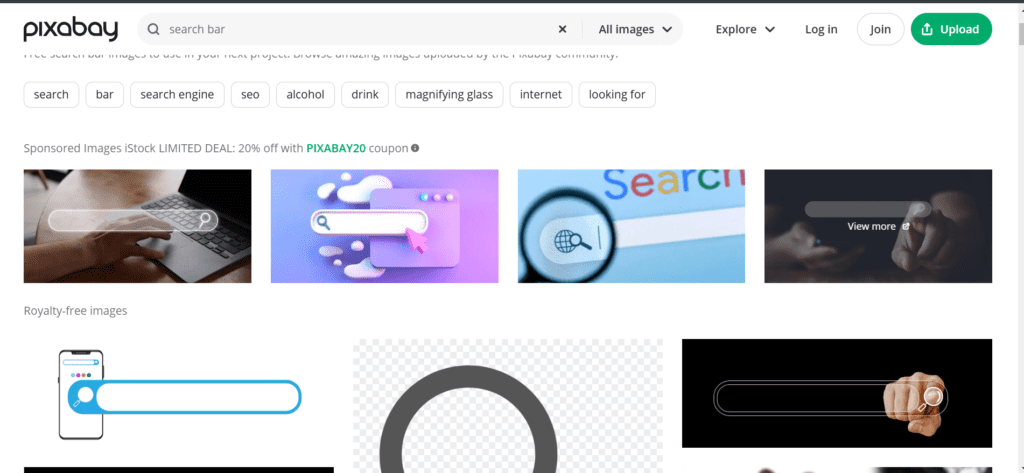
3. Pixabay
Pixabay is another great resource offering thousands of free images, illustrations, and vectors. All content is licensed under Creative Commons, meaning you can freely use the images in your blog posts without attribution.
4. FreeImages
FreeImages provides a wide range of free stock photos in various categories. While some images require attribution, many are free to use without restrictions, making it a solid choice for bloggers on a budget.
5. Burst by Shopify
Burst offers a variety of free stock photos curated specifically for business purposes. Whether you’re creating a blog about marketing or a niche topic, Burst’s collection provides images that are perfect for professional blog posts.
Paid Resources for Cover Images
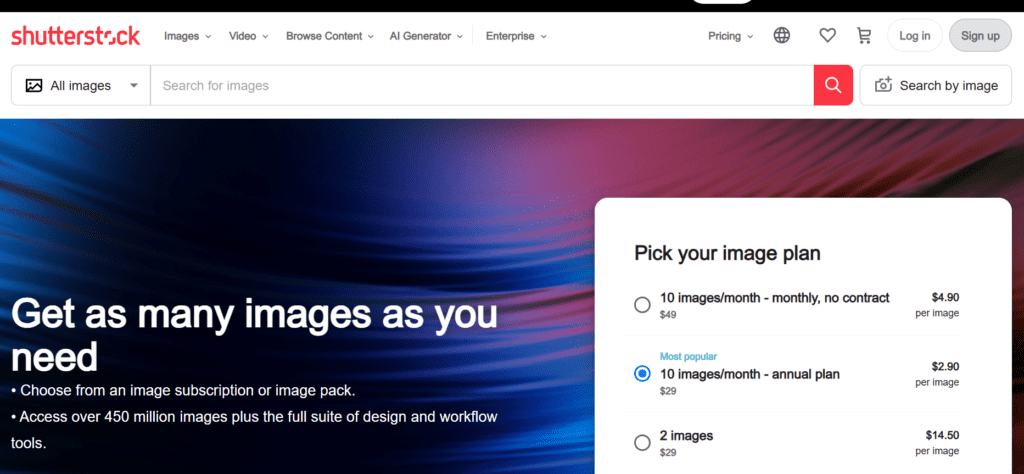
1. Shutterstock
Shutterstock is a premium stock photo website with millions of high-quality images. It offers various subscription plans, allowing you to purchase high-resolution images with commercial licenses for your Systeme.io blog post cover image. While Shutterstock requires a fee, the quality and variety of images are worth it for professional bloggers.
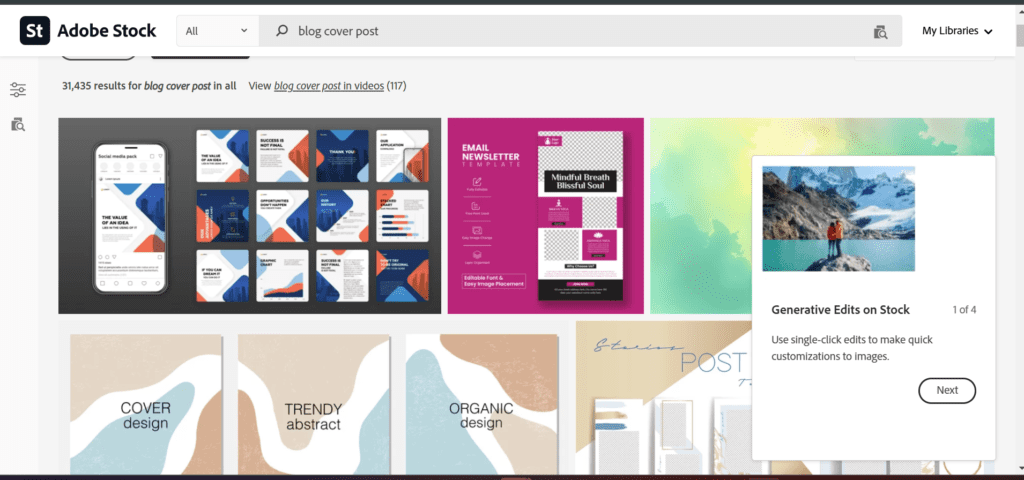
2. Adobe Stock
Adobe Stock provides access to millions of high-quality images, including photos, vectors, and illustrations. With its integration into Adobe’s Creative Cloud tools, it’s an excellent choice for users already familiar with Adobe software.
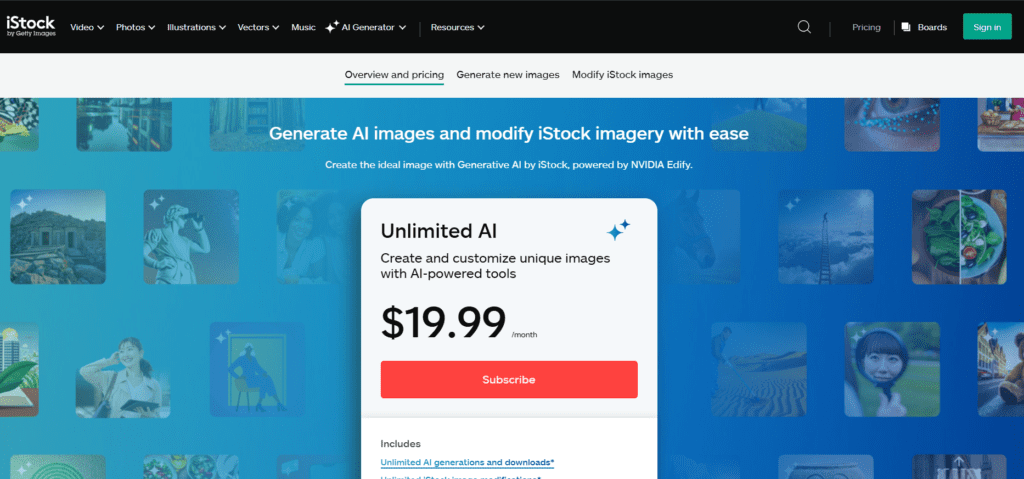
3. iStock
iStock by Getty Images offers a large collection of stock photos, vectors, and illustrations, all available for purchase. Their subscription plans provide access to high-quality images that work perfectly for professional blog cover images.
4. Depositphotos
Depositphotos is another great paid stock photo website offering high-quality, royalty-free images. With both subscription and pay-as-you-go pricing options, Depositphotos makes it easy to find beautiful cover images for your blog.
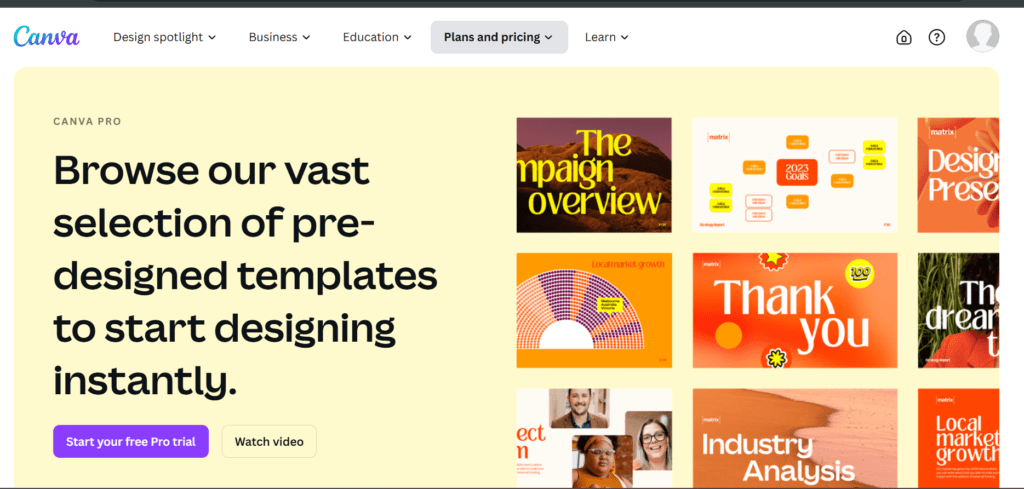
5. Canva (Pro Version)
While the free version of Canva offers many design tools, the Pro version gives access to a larger library of premium images and templates. This makes it easier to create custom blog cover images with professional-quality visuals.
Final Thoughts
Whether you opt for free or paid resources, choosing the right cover image for your Systeme.io blog post is crucial for grabbing your audience’s attention. Free resources like Unsplash, Pexels, and Pixabay provide high-quality images without any cost, while premium services like Shutterstock and Adobe Stock offer even more variety and professional options. Choose the one that fits your needs and budget, and remember to optimize the image for fast loading to improve your page speed.
A/B Testing Cover Images for Better Engagement
A/B testing your cover image for a Systeme.io blog post is a powerful way to optimize user engagement and discover what resonates most with your audience. By comparing two or more versions of your cover image, you can determine which one drives better results, whether it’s through higher click-through rates, more time spent on your blog, or increased social shares. Here’s how you can use A/B testing to improve engagement with your blog posts.
1. Understand the Basics of A/B Testing
A/B testing involves comparing two versions of a web element (in this case, your cover image) to determine which one performs better. In this process, one group of users will see version A, and another group will see version B. By tracking metrics like engagement, click-through rates, and conversions, you can determine which image has the greatest impact.
2. Test Different Image Designs
When running A/B tests for your Systeme.io blog post cover image, try testing different design elements such as:
- Color schemes: Bright and bold colors vs. soft and muted tones.
- Text placement: Experimenting with text placement (top, bottom, center) or including no text at all.
- Visual elements: Try images with graphics, patterns, or icons vs. those with a clean, minimalist look.
By testing these design aspects, you can see which style resonates better with your readers and leads to higher engagement.
3. Analyze Performance Metrics
Once your A/B test is live, analyze the performance of each cover image. Look at key metrics such as:
- Click-through rate (CTR): Which image attracts more clicks from users?
- Bounce rate: Does one image keep visitors on your blog longer?
- Engagement: Does one image lead to more social shares or comments?
Tracking these metrics will help you understand which image is most effective at engaging your audience and achieving your goals.
4. Make Data-Driven Decisions
After running your A/B test and analyzing the results, make decisions based on the data. If one cover image significantly outperforms the other, use that version going forward for future blog posts. However, keep testing periodically to ensure you’re still using the most engaging images as trends and preferences may change over time.
5. Consider Testing with Different Audiences
Another way to optimize your Systeme.io blog post cover image is to run A/B tests with different audience segments. For instance, you can test one cover image on a segment of your audience who prefers a professional tone and another image on a group that responds better to a casual, friendly style. Tailoring your content for specific audiences can lead to improved engagement.
6. Tools for A/B Testing Cover Images
To run A/B tests effectively, consider using tools that integrate with your Systeme.io blog. Some popular A/B testing tools include:
- Google Optimize: A powerful and easy-to-use tool for testing different versions of web elements.
- Optimizely: A comprehensive testing platform that offers multivariate testing options for cover images and other page elements.
- VWO: A robust testing tool that helps track user interactions and compare the performance of different cover images.
Final Thoughts
A/B testing your Systeme.io blog post cover image is an effective way to boost engagement and ensure you’re using the most impactful visuals for your audience. By experimenting with different designs, analyzing key performance metrics, and using the right testing tools, you can optimize your cover images for maximum performance and user engagement.
Conclusion
In conclusion, selecting and optimizing the right cover image for your Systeme.io blog post is essential for enhancing user engagement, improving SEO, and creating a visually appealing experience for your readers. By understanding the recommended image sizes, avoiding common mistakes, and leveraging image compression tools, you can ensure that your blog posts load quickly and look great on any device.
Furthermore, A/B testing your cover images allows you to make data-driven decisions and tailor your visuals to what resonates best with your audience, ultimately leading to better performance. Whether you choose free resources like Unsplash and Pexels, or premium options like Shutterstock and Adobe Stock, the key is to find the right image that aligns with your brand and the content you’re creating.
Remember, the right cover image can make all the difference in attracting and retaining your audience. By following the best practices outlined in this guide, you’ll be well on your way to creating compelling blog posts that drive more traffic, higher engagement, and greater success for your Systeme.io blog.